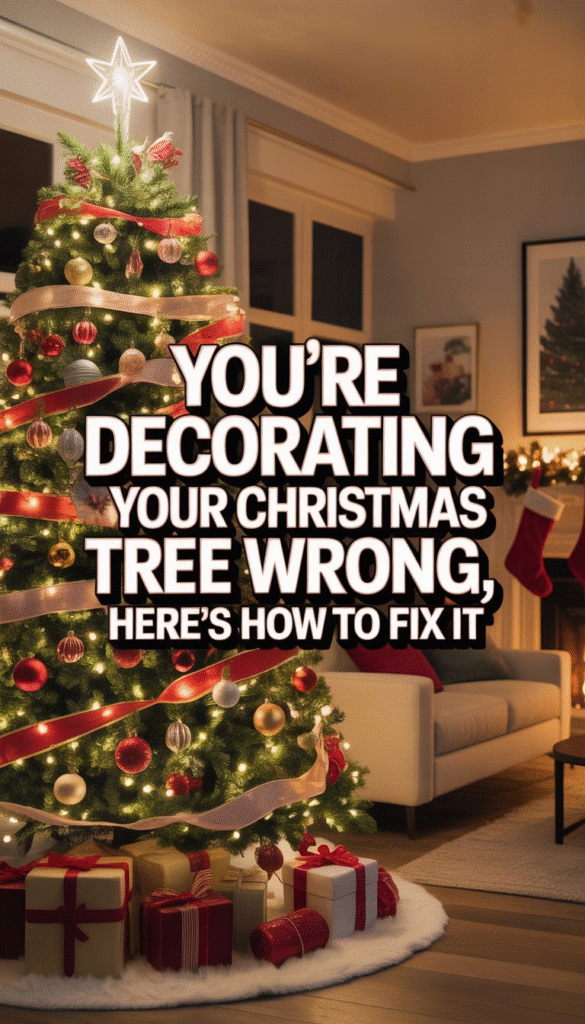

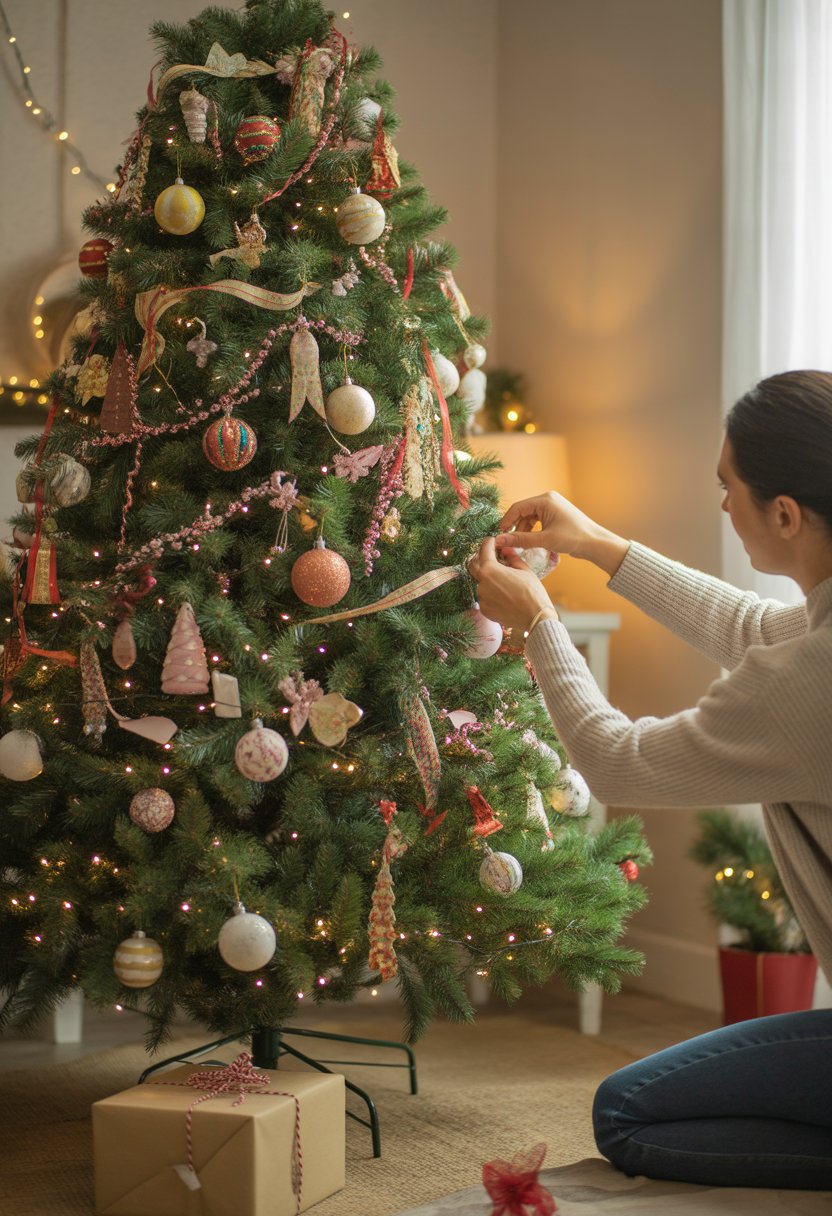
You’re Decorating Your Christmas Tree Wrong, Here’s How to Fix It with Simple Tips
You might think decorating a Christmas tree is simple, but there are common mistakes that can make it look less festive than you want. From placing ornaments in the wrong spots to not balancing your lights, these small errors can keep your tree from standing out the way it should.
This post may contain affiliate links, which means I’ll receive a commission if you purchase through my link, at no extra cost to you. Please read full disclosure here.


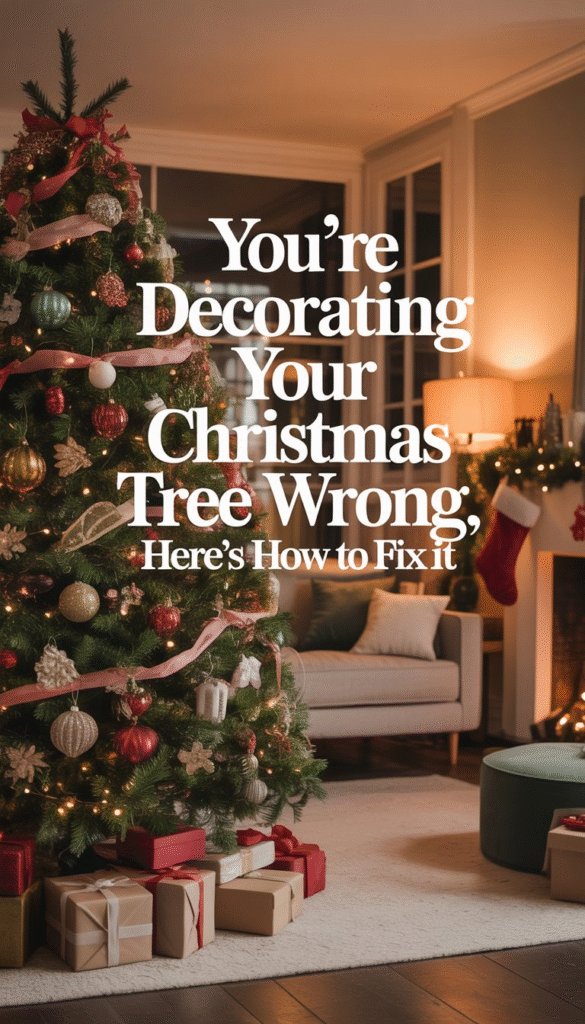
The key to fixing your tree decorating is to start with heavier items at the bottom and work your way up, while spreading decorations evenly and layering your lights properly. This method helps your tree look balanced and full, giving it a polished, professional feel without much extra effort.
If your tree has ever felt messy or uncoordinated, these tips will help you avoid those decorating blunders and bring out the best in your holiday centerpiece. You’ll be surprised how a few changes can make a big difference.
Common Christmas Tree Decorating Mistakes and How to Fix Them
Getting your Christmas tree right involves some key steps. If you skip important prep, mess up the decorating order, struggle with lights, or ignore the base, your tree won’t look as great as it could. Fixing these common errors can help you create a better, more festive look.
Skipping Proper Tree Prep

Before you hang any decorations, make sure your tree is ready. If you’re using a real tree, give it a good shake outside to drop loose needles. For an artificial tree, fluff the branches fully to fill in gaps and make it look natural.
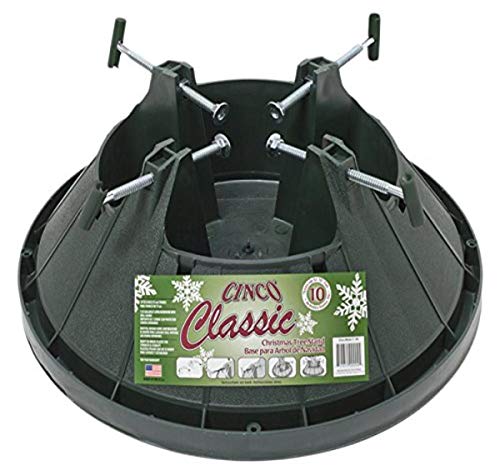
Check your tree stand for stability. A wobbly tree will cause frustration and possible accidents. You want it straight and steady.
Clean the area where you’ll set up your tree. It helps the lights and ornaments shine. Also, decide on your theme or color scheme first. This stops you from grabbing random decorations and ending up with a messy look.
Incorrect Order of Decorating Steps
Doing things out of order can ruin the flow of your decorating. Always start with the Christmas tree lights before you put on ornaments or garlands.
Once the lights are set, add garlands or ribbons. These create layers and depth. Then, hang your ornaments from large to small. Place bigger ones near the bottom and smaller ones up top for balance.
Avoid hanging all the same kind of ornaments close together. Spread them evenly to keep the tree looking full and interesting.
Trouble With Christmas Tree Lights
Lights can be tricky, but they matter a lot. Start with checking your lights before you put them on the tree. Replace any broken bulbs or use a new string if needed.
Wrap lights around branches, working from the trunk outwards. This style adds depth and helps the tree light evenly. Try to use the same type of lights, either all warm white or all color, to avoid clashing.
Don’t rush. Taking your time will prevent tangling and uneven lighting. Using LED lights saves energy and stays cooler, which is safer.


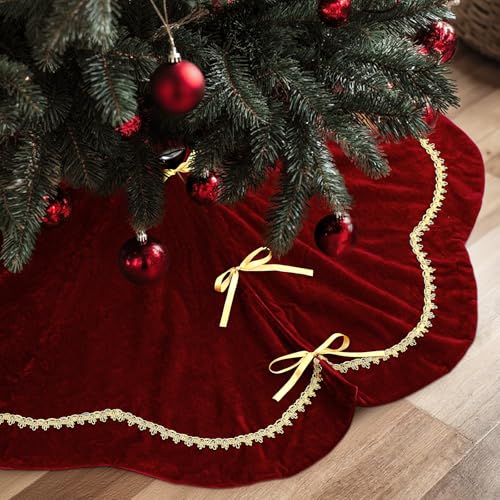
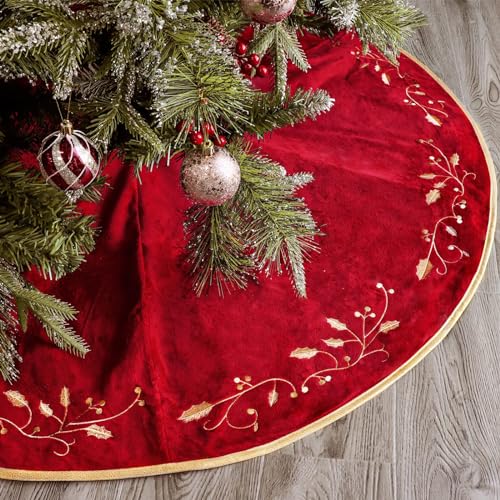
Neglecting the Tree Base
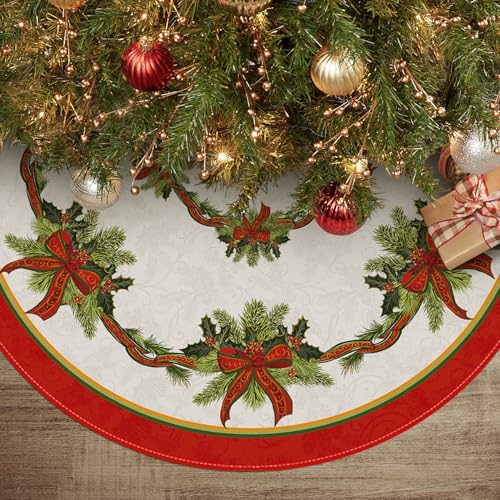
The bottom of your tree often gets ignored, but it can make or break the whole look. A plain tree stand isn’t very festive. Hide it with a tree skirt or a tree collar.


Tree skirts add color and warmth, while collars give a modern and clean look. Make sure your base cover fits well and matches your overall theme.
Keep the base neat and clear of clutter. This will make the tree area safer and more inviting. If you have pets or kids, secure the base so the tree doesn’t tip over easily.


Step-By-Step Guide to Decorating Your Christmas Tree Like a Pro
Start by choosing a clear plan that fits your space and style. Think about colors, themes, and the size of your tree. Then, layer your decorations carefully. Finally, add natural touches and the little details that make it feel special.
Planning Your Tree Design
Begin by picking a theme or color scheme. This helps keep the tree looking balanced and stylish. For example, you might choose classic red and gold, or go for a rustic look with natural colors.
Measure your tree and find a tree topper that fits well. Think about the kind of lights you’ll use, warm white lights give a cozy feel, while colorful ones add fun.
Plan where your bigger decorations will go. Place large ornaments toward the bottom and smaller ones near the top for a natural look.
Layering Ornaments, Ribbon, and Garland
Start with lights. Wrap them evenly around the tree, making sure to go from the trunk to the tips of the branches. This helps the tree glow inside and out.
Next, add garlands or ribbons. Drape them loosely, winding down the tree in an S-shape. Use wide ribbon for impact, or thin garland for a softer touch.
Finally, hang your ornaments. Mix different sizes and shapes, spacing them out evenly. Put your favorite or special ornaments where they can be seen easily.


Adding Natural Touches and Final Details
Add pine cones and berries to bring a natural, rustic feel. Tuck them deep into the branches to add texture.
Use fresh greenery or small branches if you want extra depth. These little touches make your tree look like it’s right from the forest.
Finish with your tree topper and a simple tree skirt to cover the stand. Step back and adjust any decorations that seem out of place. Your tree should feel full but not crowded.