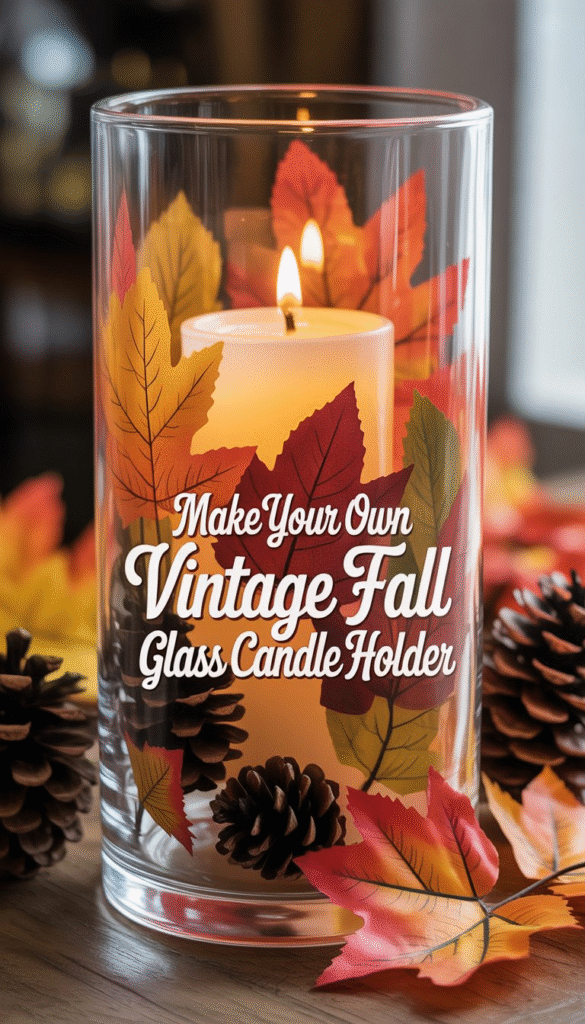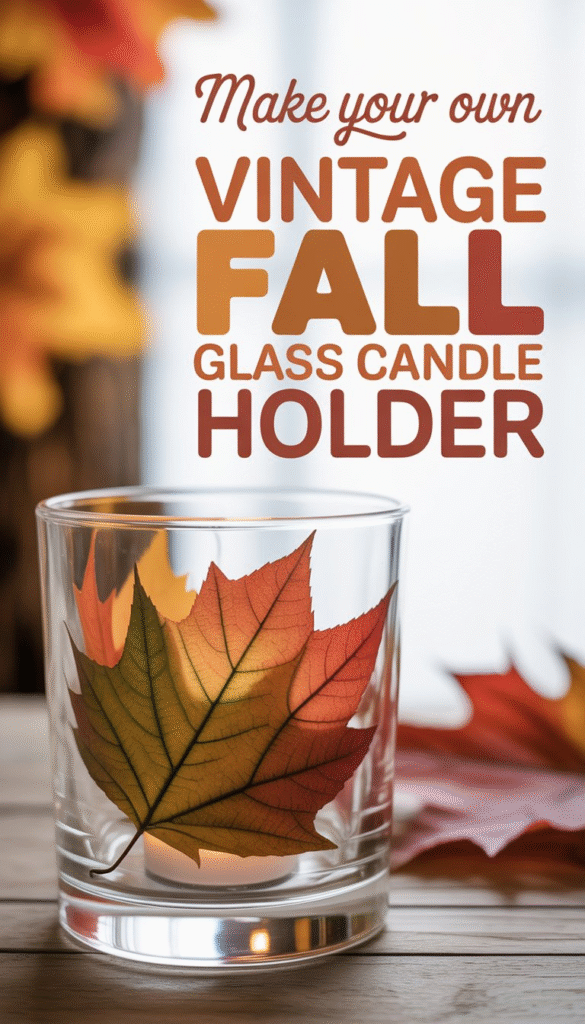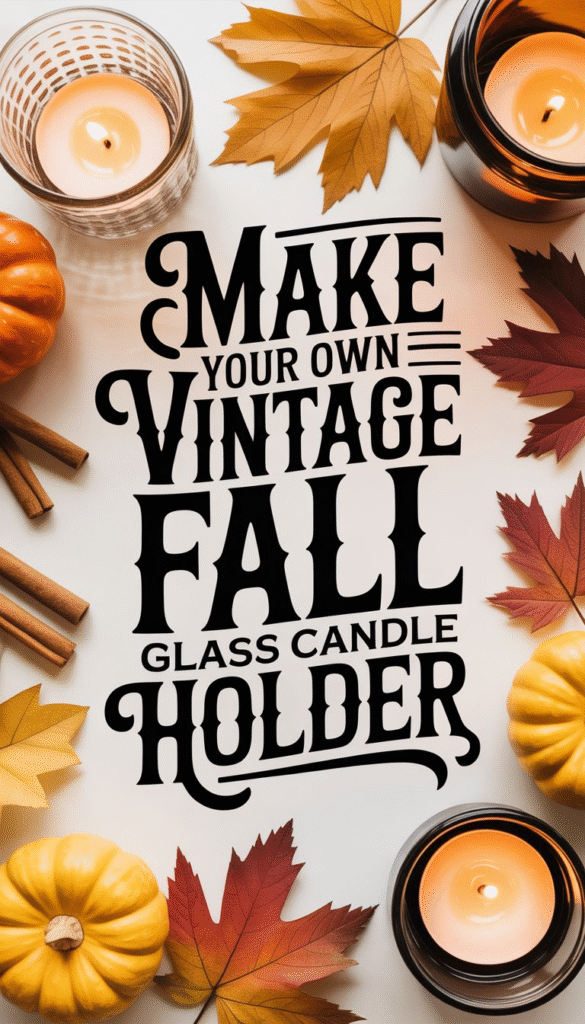

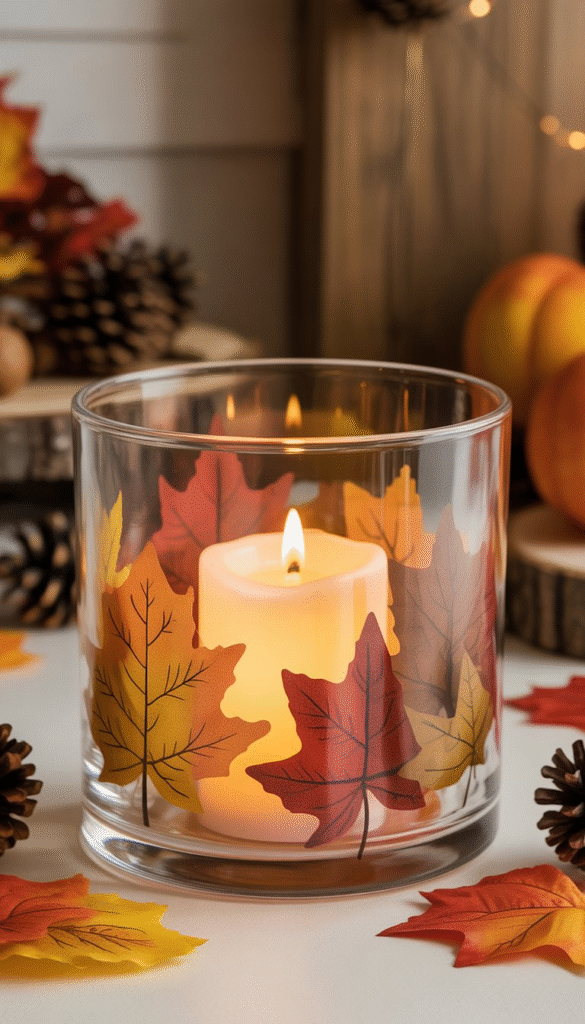
Make Your Own Vintage Fall Glass Candle Holder With Leaves
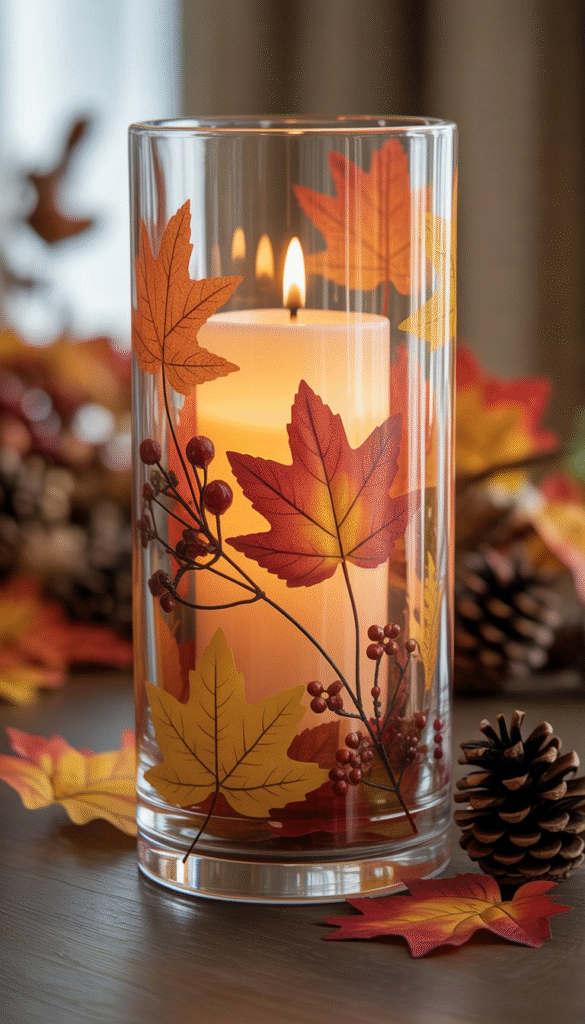
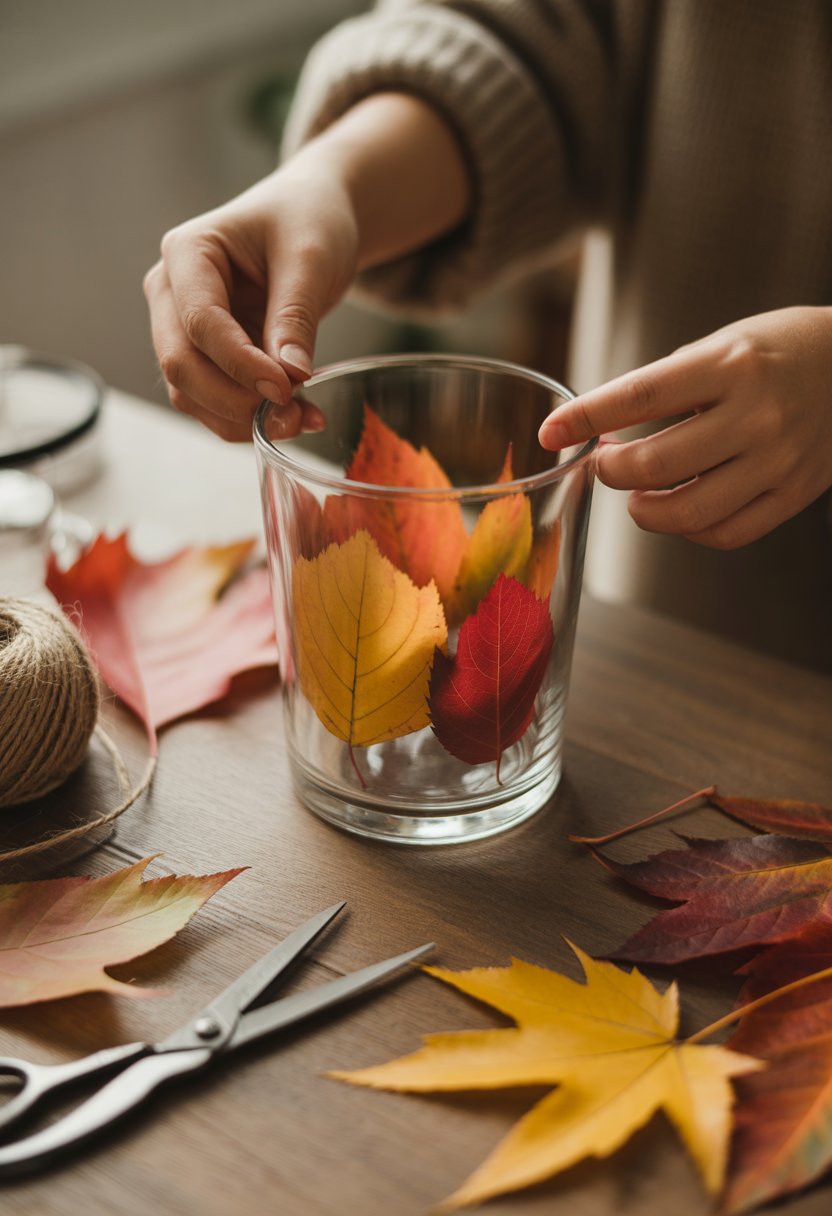
If you want to add a cozy, vintage touch to your fall decor, making your own glass candle holder with real leaves is a simple and fun project. You only need a few basic supplies like a glass jar, dried leaves, and Mod Podge to create something beautiful that fits perfectly with the autumn vibe.
This post may contain affiliate links, which means I’ll receive a commission if you purchase through my link, at no extra cost to you. Please read full disclosure here.
You can easily transform a plain glass jar into a stunning fall candle holder by carefully attaching dried leaves with Mod Podge, giving it a warm, natural look. It’s a great way to use fall leaves you’ve collected and make a handmade piece that feels personal and seasonal.
This project works well for all skill levels and lets you get creative with the shapes and colors of leaves you choose. Plus, it’s perfect for giving your home that cozy, vintage feeling without needing any fancy tools or materials.
Materials Needed for a Vintage Fall Glass Candle Holder

To get started, you’ll need a few key supplies that bring together the right glass container, fall leaves, and adhesives. Adding a few optional decorations can help match your style and make your candle holder truly unique.
Choosing the Right Glass Container
Pick a glass container that fits the vintage feel you’re going for. Mason jars are a popular choice because they are easy to find and have that classic look. Old glass vases or thrift store finds with some character can also work well.
Make sure the glass is clean and free of labels or sticky residue. Clear glass shows off the leaf design best, but slightly frosted or tinted glass can add a soft, vintage vibe. The container should be big enough to safely hold a candle without being too tall or narrow.
Selecting Autumn Leaves and Artificial Leaves
For that true fall look, use real dried autumn leaves. Maple, oak, or birch leaves are great choices because of their shapes and colors. Press leaves flat between heavy books for a day or two so they stick better.
If you want your candle holder to last longer, try artificial leaves made from fabric or paper. These won’t fade or crumble over time but still give you the warm fall colors. You can mix real and artificial leaves to create texture and depth on your glass container.


Mod Podge and Adhesives
Mod Podge is your go-to glue for sticking leaves to glass. It works as both an adhesive and a sealer, so your leaves stay in place and protected. Use a small foam brush for smooth spreading without bubbles.
You might also want a clear-drying craft glue if you have extra decorations to add. Avoid super glue because it can fog the glass or dry too quickly. Mod Podge comes in different finishes, but matte or satin finishes usually give the best vintage look.
Optional Decorative Accessories
To customize your candle holder, consider adding burlap strips, twine, or lace around the rim or base. These materials tie in well with the vintage and fall theme.
Small wooden buttons, cinnamon sticks, or dried berries make nice accents. Just attach them with Mod Podge or double-sided tape. Keep accessories simple so the leaves stay the main focus of your design.
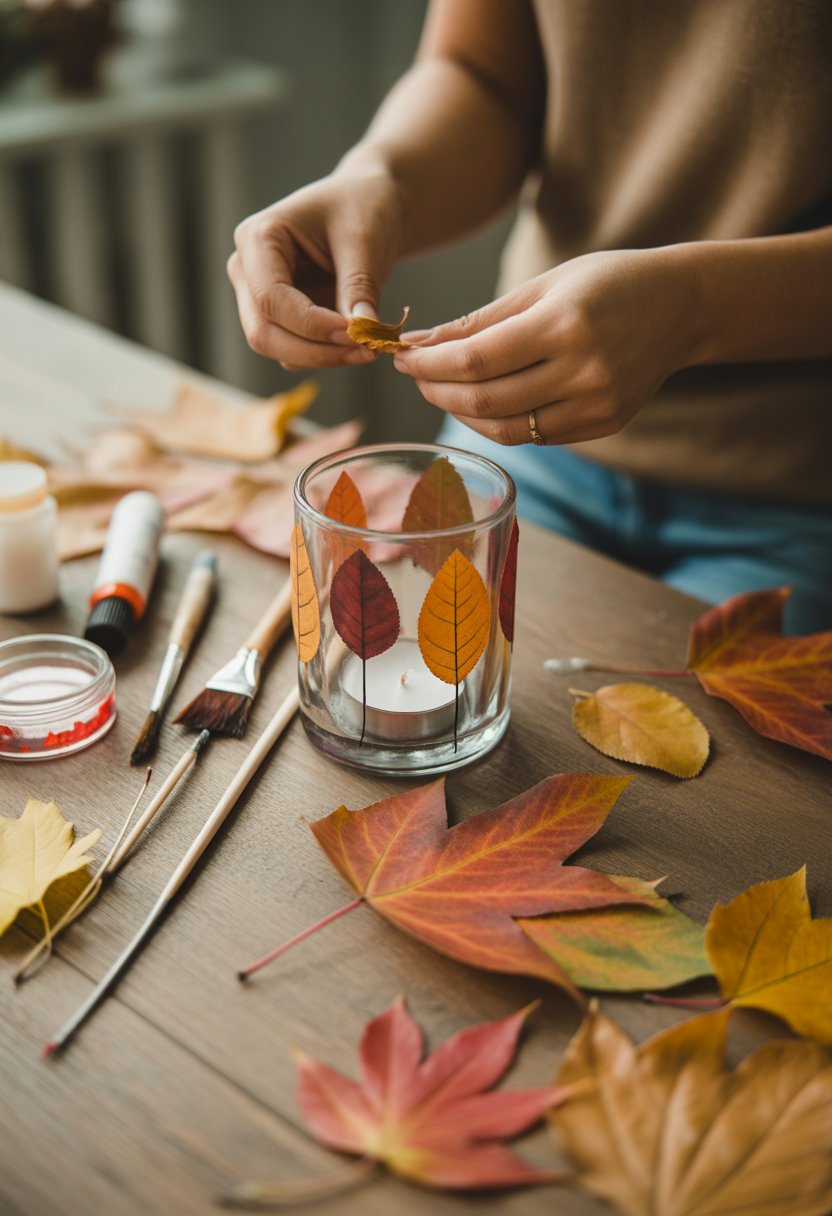
Prepping Your Leaves and Glass Container
To create a vintage fall glass candle holder, it’s important to get your leaves and glass container ready before you start crafting. You’ll want clean, flat leaves that will stick well, and a smooth glass surface for the best look. Here’s how to prepare everything properly.
Cleaning and Flattening Real Leaves
If you’re using real autumn leaves, start by picking leaves that aren’t too dry or brittle. Gently wipe dirt or bugs off with a damp cloth. Avoid soaking leaves too long since they can wilt.
Press your leaves between heavy books or use a leaf press for 1-2 days. This flattens them nicely and helps keep their shape. If you want, you can also iron leaves by placing them between two sheets of paper and ironing on low heat for about 10 seconds.
Make sure your leaves are completely dry and flat before attaching them to your glass container. This keeps them from curling or wrinkling later.
Prepping Artificial Leaves
Artificial leaves often come in different materials, so pick thin, flat ones that will stick well. Clean any dust off by wiping with a soft cloth.
If your artificial leaves are stiff, gently bend or soften them by running warm (not hot) water over them and then letting them air dry flat. This can help them look more natural once glued on.
Cut leaves to size if needed, so they fit your glass container perfectly without too much overlap.
Preparing the Glass Surface
Start with a clear glass container, like a jar or vase. Wash it with soap and warm water to remove dirt and grease. Dry it with a lint-free cloth.
To help glue or Mod Podge stick better, wipe the glass with rubbing alcohol on a cotton ball. This removes extra oils from your hands or the environment.
For a vintage look, you can lightly sand certain spots with fine-grit sandpaper to create texture. Make sure to wipe away dust before you start decorating.
Step-By-Step Guide: Making Your Fall Candle Holder
You’ll start with prepping your glass container to hold the design, then carefully attach the leaves using Mod Podge. Finally, you’ll seal everything so your vintage fall candle holder stays pretty and safe to use.
Applying Mod Podge to the Glass
First, grab a clean glass container. Make sure it’s free of dust or grease. This helps the Mod Podge stick better.
Use a brush or sponge to apply a thin, even layer of Mod Podge all over the outside of the glass. Don’t use too much or it will drip and get messy. Work quickly but smoothly.
If you want, use a type of Mod Podge that dries clear for a neat finish. This layer acts like glue and a sealant, so it’s important to cover all the areas where you will stick the leaves.
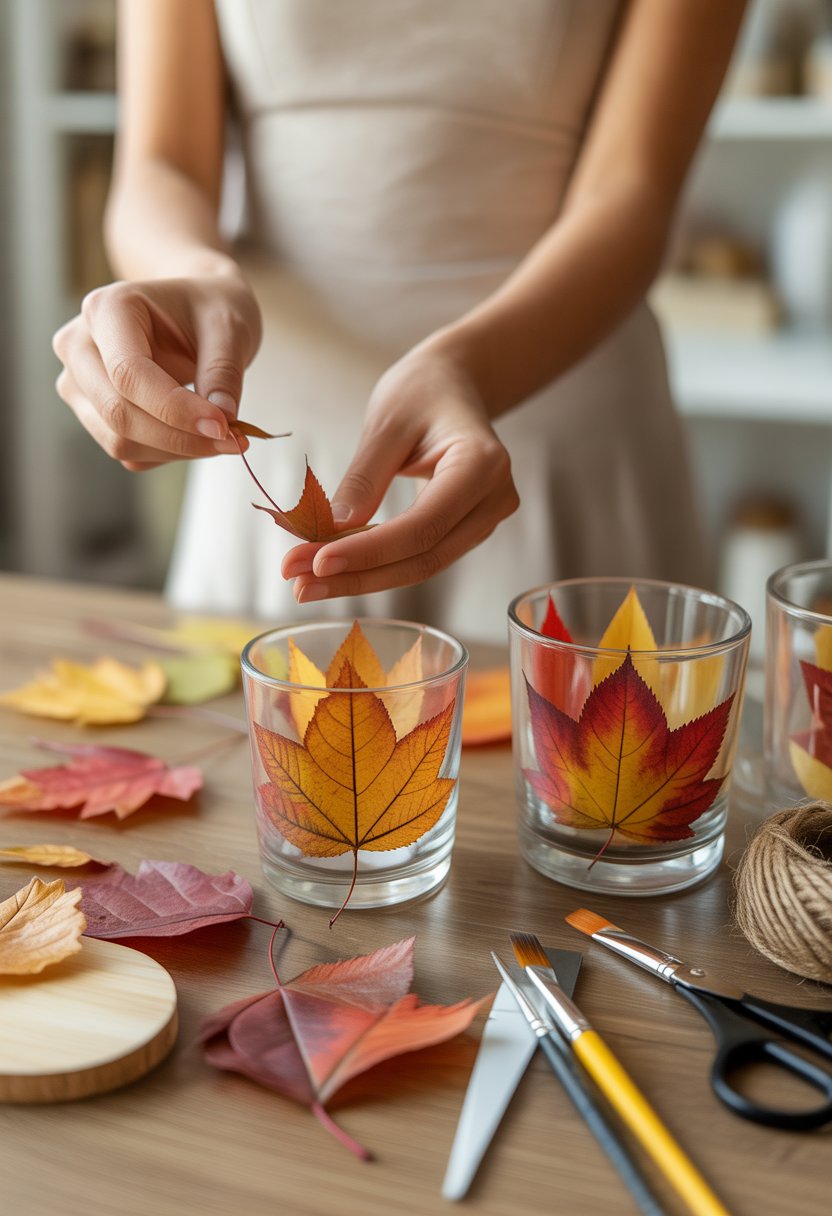
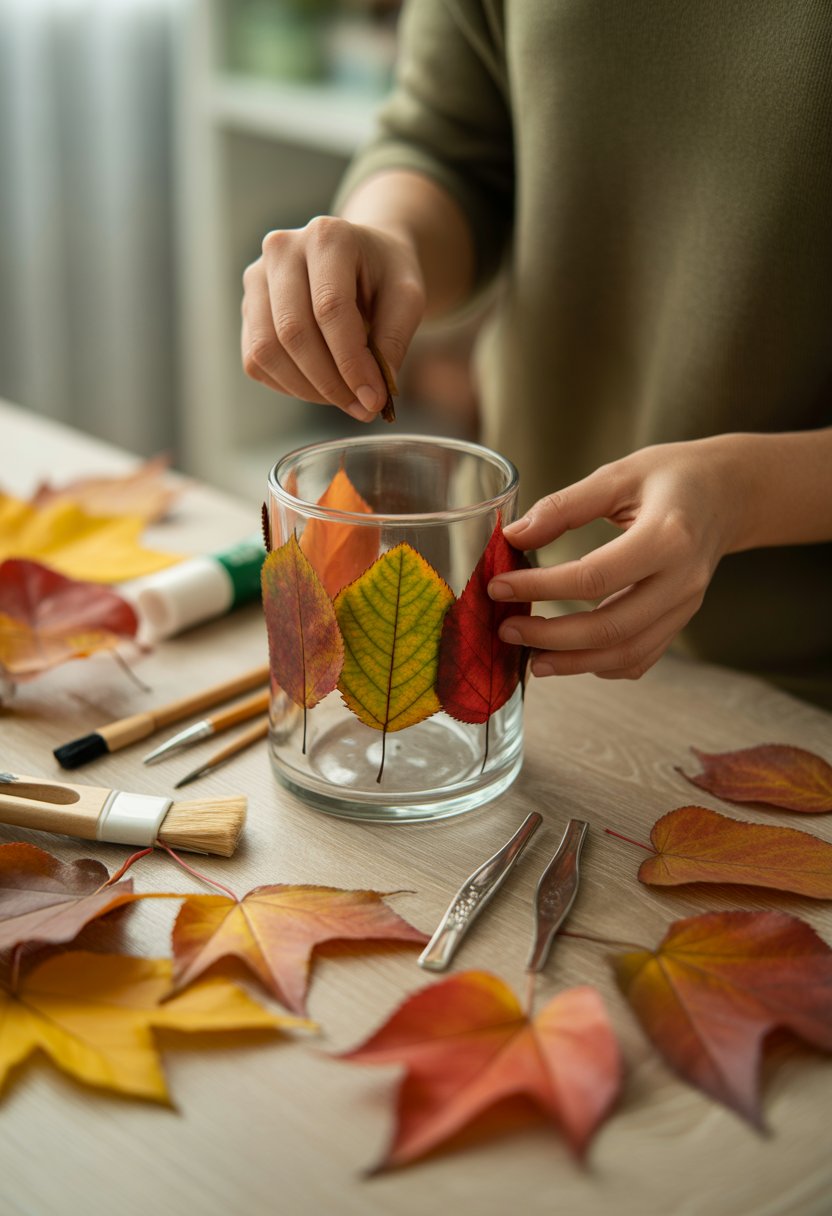
Layering and Attaching Leaves
Choose your leaves. Artificial leaves work well if you want color and shape that won’t change. Real autumn leaves give a natural look but can be fragile.
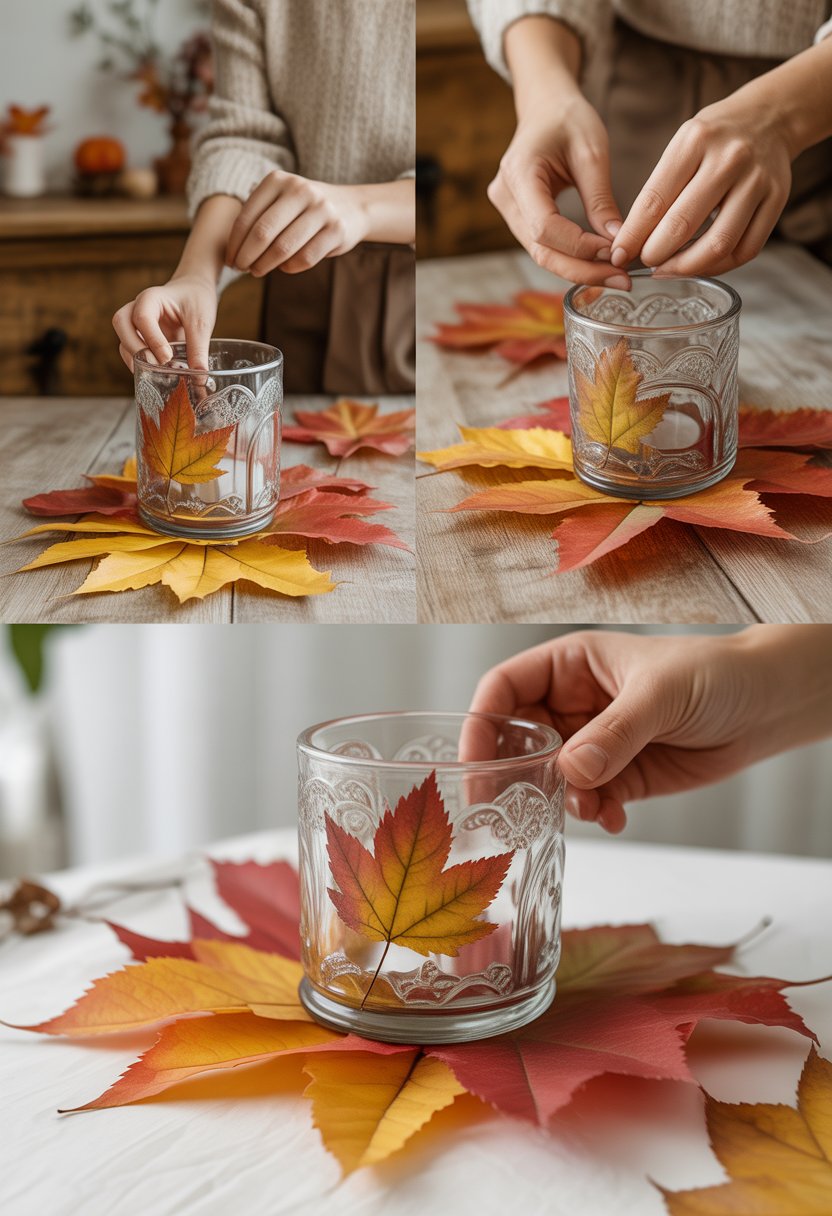
Place each leaf on the glass, pressing gently to avoid wrinkles. Overlap the edges slightly so it looks full and textured.
Brush a thin layer of Mod Podge over each leaf to stick it down. This also smooths out air bubbles and helps the leaf hold its shape on the glass.
Take your time here. The key is to build up layers slowly to create that cool vintage vibe.
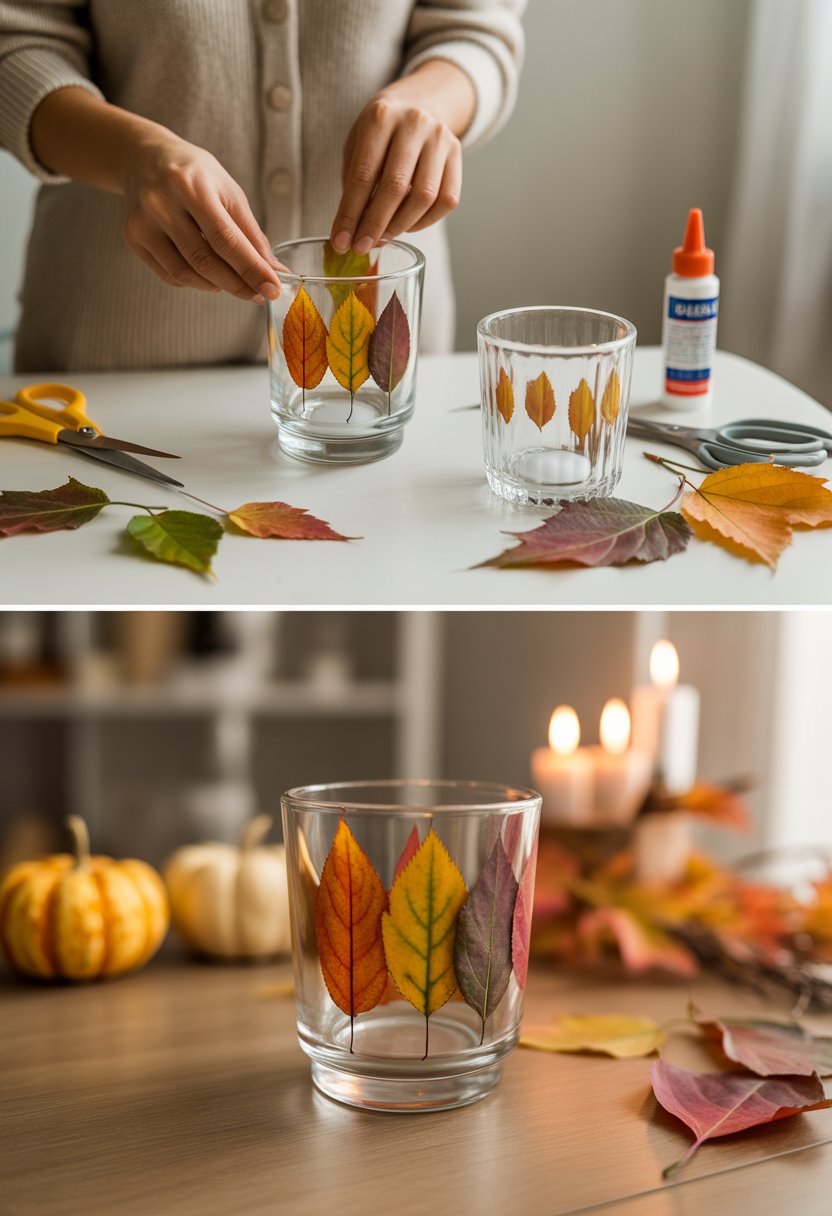
Sealing and Finishing the Design
Once all the leaves are stuck down, apply a final layer of Mod Podge over the entire glass surface. This seals everything in and protects the leaves.
Make sure this coat is even and covers every part of the glass and leaf edges. Let it dry completely in a dust-free spot.
If you want extra shine, use a glossy finish Mod Podge for this step. Matte Mod Podge works too if you prefer a soft, rustic look.
After drying, your candle holder will be ready to light up your space safely and beautifully.
Creative Design Variations
You can make your vintage fall glass candle holder more unique by trying different materials and finishes. Experiment with shiny details, paint, or mixing real autumn leaves with fake ones to get the look you want.
Adding Glitter, Paint, or Texture
If you want your candle holder to catch the light, add glitter to your leaves or glass. Apply a thin layer of glue on the jar, then sprinkle fine glitter on top.
Painting your leaves or jar is another option. Use metallic colors like gold or copper for a warm, vintage feel. You can paint the edges of the leaves or create small patterns on the glass.
For texture, try wrapping jute or burlap around the jar. It adds a rustic touch that pairs well with fall decor. You can glue on small dried flowers or seeds to make it even more interesting.
Mixing Real and Artificial Leaves
Using both real and artificial leaves gives you more control over how your candle holder looks and lasts. Real autumn leaves offer natural colors and unique shapes, but they can be fragile.
Artificial leaves keep your candle holder looking fresh longer. You can find fake leaves in vibrant fall colors like deep reds and oranges that won’t fade.
Try layering a few real leaves on the jar first, then add artificial leaves on top. This mix brings out texture and depth. Use Mod Podge or a clear-drying glue to hold everything securely. This way, you get the charm of real leaves with the durability of fake ones.
Assembling and Displaying Your Candle Holder
Once your vintage glass candle holder is ready, it’s time to choose the right candle, think about how you’ll display it, and keep safety in mind. These steps will help you make the most of your handmade piece without any trouble.
Selecting the Perfect Candle
Pick a candle that fits snugly inside your glass container. A tea light or small votive works well. Make sure the candle is not too tall, so the flame stays below the rim of the glass. This keeps things safe and gives a warm glow through the leaves on the jar.
If you want longer burn times, go for soy or beeswax candles. They are cleaner and last longer. Avoid candles with scents that might clash with the natural, cozy look of your leaf-covered holder.
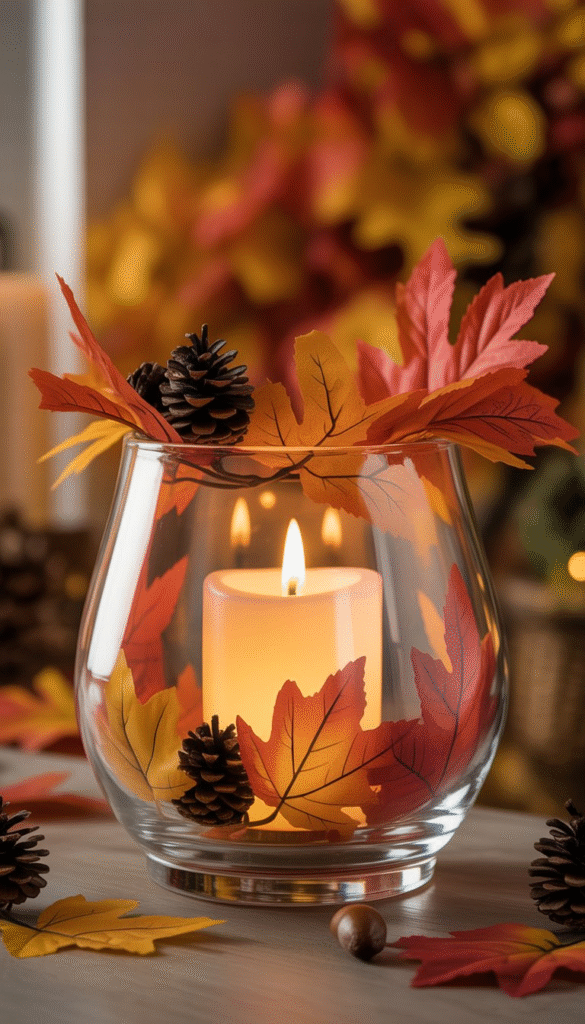
Arranging for Table Centerpieces
Place your candle holders in groups for a nice centerpiece. Use different sizes and shapes of glass containers to add depth. Arrange them on a wooden tray or a rustic table runner to boost the fall vibe.
You can also add small pinecones, acorns, or cinnamon sticks around your candle holders. Just make sure they’re not too close to the flame. This adds texture without causing safety issues.
Safety Tips for Candle Use
Always set your candle holder on a flat, stable surface. Keep it away from curtains, papers, or anything flammable. Never leave a burning candle unattended.
Trim the candle wick to about 1/4 inch before lighting. This helps prevent high flames and smoke. And remember, once the candle is out, let the glass cool before moving it. This will stop cracks or burns on surfaces.
Caring for and Storing Your Candle Holder
Taking care of your vintage fall glass candle holder with leaves means keeping it clean without damaging the leaves or glass. Storing it properly helps prevent scratches and keeps the leaves looking fresh for the next season.
Cleaning and Handling Tips
Be gentle when cleaning your candle holder. Use a soft, damp cloth to wipe the glass container. Avoid harsh chemicals that can damage the dried leaves or the vintage finish.
If wax spills inside, soften it with warm water, then gently scrape it away using a plastic tool. Don’t use metal scrapers, as they can scratch the glass.
Handle your candle holder with care. Hold it from the bottom to avoid pressure on the glued leaves. If the leaves start peeling, a tiny bit of craft glue can help secure them back.
Long-Term Storage Recommendations
When storing your candle holder, wrap it in tissue paper or bubble wrap to protect the glass and delicate leaves.
Place it in a sturdy box to prevent crushing. Keep it somewhere dry and cool to avoid moisture damage or fading.
Avoid stacking heavy items on top. If you have more than one, separate them with soft materials to prevent scratches.
Label the box so you can easily find your fall décor for next year.